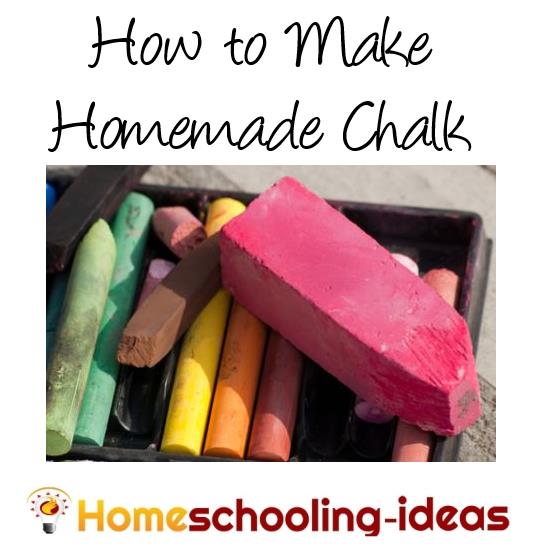
Friends, I found this over at Homeschooling-Ideas.com and just loved it! With the beautiful weather outside this one will be so fun to make with your kiddos!
Firstly, collect together the items you need.
- Plaster of Paris or Egg shells.
- Tempera Paint (yes – good old poster paint!). You can use either the liquid or powder versions.
- Old bowls or pots for mixing – we use empty tin cans or yogurt pots.
- Molds –
- Have fun choosing! You could make small chalks with ice cube trays, big fat toilet roll or kitchen roll chalks. Round yogurt pot chalks. Or use popsicle or plaster of paris/play-doh molds for something different. Shaped silicone baking trays can also be used. I think plastic egg cartons would work well too.
- Water.
- Spatula or old spoon.
- Possibly needed – Wax paper and/or petroleum jelly. Duct tape. Tin foil or film wrap.
Next you need to pepare your molds. Kitchen rolls or toilet rolls should be cut to size if they are too long for you. Tape over one end to stop the chalk mixture running out when you fill them (we used duct tape). They also will need lining with wax paper or freezer paper to make them waterproof. Disposable molds like yogurt pots won’t need any preparation – you can always cut them away from the chalk if they get stuck. Coat any other molds (such as your baking trays or ice cube trays) with petroleum jelly so the chalk will slip out easily when dry. Or alternatively (and better in my experience – I have never got the petroleum jelly thing to work) you could line them with tin foil or film wrap.
| Science tip : Plaster of Paris is a chemical that reacts with water and heats up to pretty hot temperatures that could burn you. For this reason, do NOT allow your children to poke their fingers in the chalk mixture when mixing or pouring. You can find a science lesson plan that looks at this reaction here. But, so you don’t worry, Plaster of paris is non-toxic so the finished chalks are safe for the children to handle. |
 Put 2 or 3 tablespoons of your paint into a bowl and add a cup of water. Mix, then begin adding the plaster of paris slowly, mixing as you go. You probably need to check the instructions on the packet to get a better idea of how much to use, but my packet said add until all the water was absorbed! I kept going until I ended up with a thick custard/cake batter type mix.
Pour or spoon the mixture into your molds and leave to set. It will probably take a few hours! When set you can remove the chalks from their molds but they may need longer to dry out before you can use them (leave them overnight).
| Tip : Don’t pour any leftover mixture down the drain – it could well block it. Pour leftovers into an old container that you can bin – or combine leftovers to make a handprint of your child. |
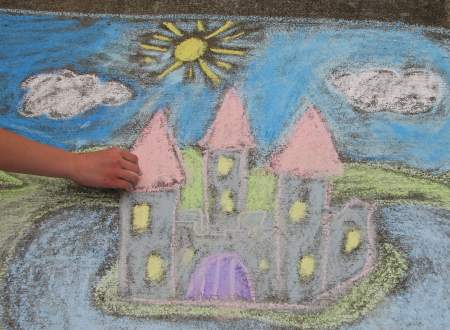
When they are dry you can use your homemade chalks for some sidewalk drawing – or make up chalk games such as hopscotch, tic tac toe or marble games.
|
|

Eggshell Chalk
No plaster of paris? How about using eggshells instead? There is a nice document here with step by step instructions and a lesson plan. You are going to need about 6 egg shells per stick of chalk. Sounds like an excuse for a cake to me!
No plaster of paris? How about using eggshells instead? There is a nice document here with step by step instructions and a lesson plan. You are going to need about 6 egg shells per stick of chalk. Sounds like an excuse for a cake to me!
Dont have a sidewalk you can use your homemade chalk on? Fear not. Check out this great way to make your own chalkboard paint. And if that inspires you, read out this great homeschool chalkboard wall idea.


I have made play dough, finger paint, and bubbles but I have never made chalk. This looks like a good science project for 12 and 14 year old children.